January 18, 2026

Before you even think about hitting record on a video or writing your first lesson, you need a solid course outline. This isn't just a simple to-do list; it's the strategic roadmap that will guide your entire course creation process. Think of it as the blueprint for the entire learning experience you're about to build.
I like to compare a course outline to the foundation of a house. If you don't have a strong, well-thought-out plan from the start, the whole thing can end up feeling shaky, confusing, or just plain ineffective.
Mapping everything out forces you to put yourself in your student's shoes and design a logical journey. You'll build their knowledge step-by-step, which is far better than creating content on the fly and ending up with gaps or repetitive material. A well-planned outline is your best friend for quality control.
It helps you:
The real goal here isn't just to organize a bunch of information. It's to engineer a specific outcome for your students. Each lesson should be a deliberate step toward a bigger skill or a deeper understanding.
For example, instead of a vague topic like "Social Media Strategy," a good outline would break that down into concrete, actionable lessons. You might start with "Defining Your Target Audience on Instagram" and then move to "Crafting High-Engagement Captions." This granular approach ensures every piece of content delivers real, tangible value.
A well-crafted outline ensures you’re not just sharing information, but guiding a transformation. It’s the difference between a random collection of facts and a structured path to mastery.
To really elevate your course, it's worth brushing up on essential online education best practices. Integrating these principles into your outline will help you build something that not only educates but also captivates your audience and helps them thrive.
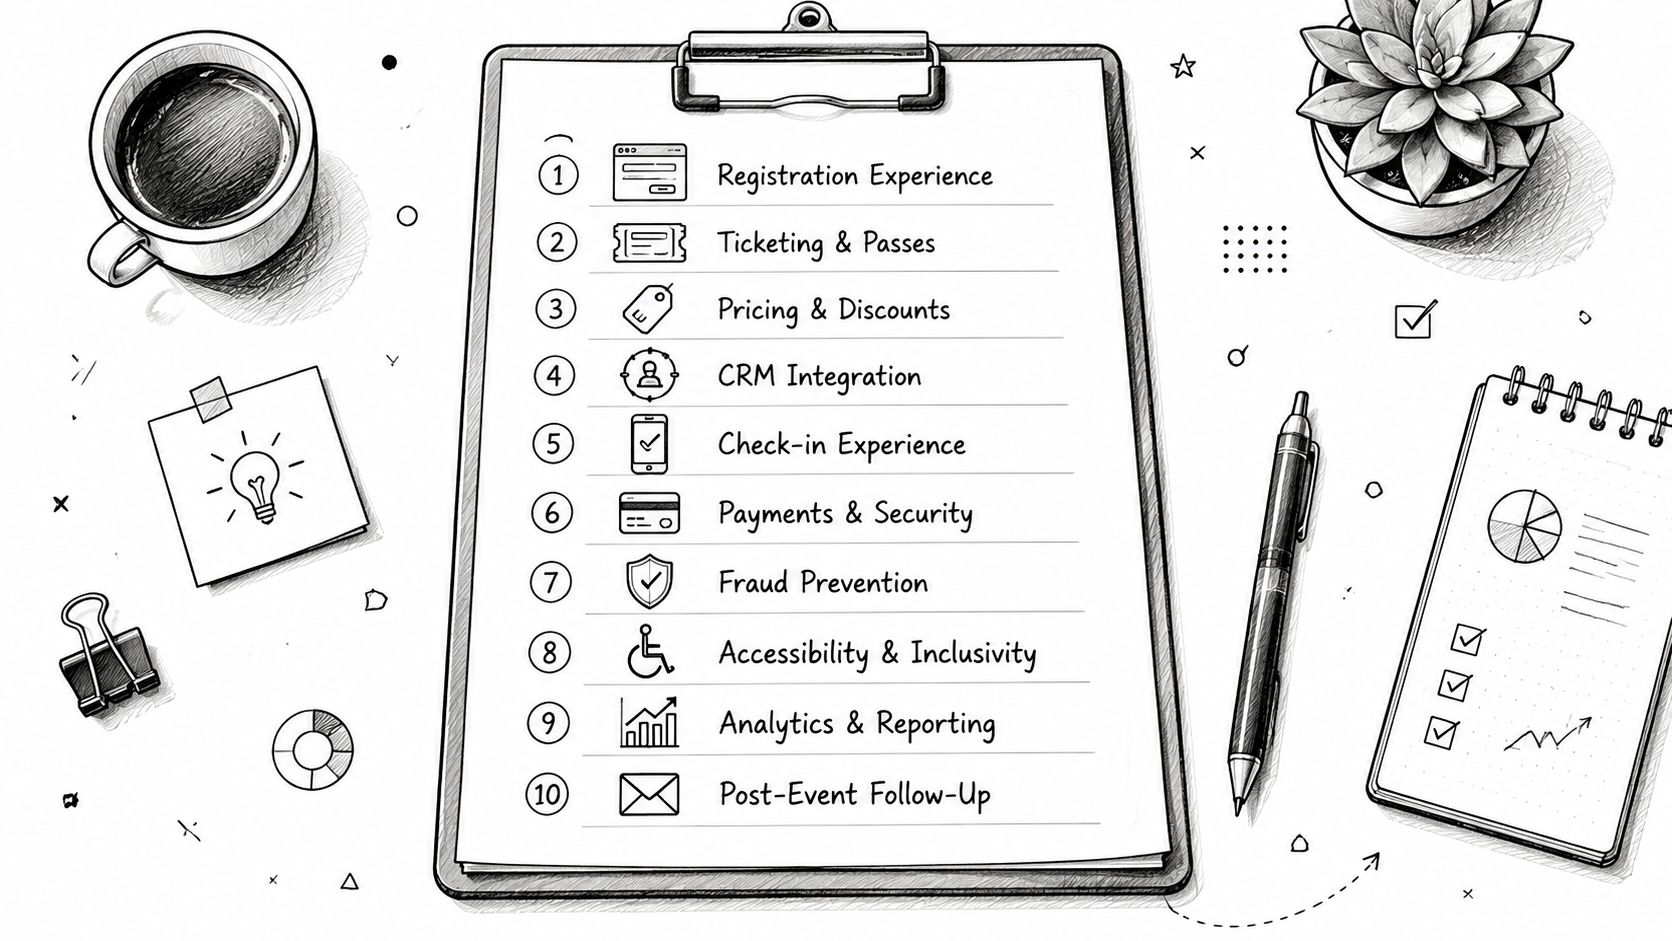
To help you get started, let's break down the core pieces that make up a truly effective outline.
Having these components clearly defined from the beginning will give you a rock-solid foundation to build upon, ensuring your final course is cohesive, effective, and truly valuable for your students.
Before you even think about modules or lesson plans, you have to know where you're going. What, exactly, will your students be able to do when they finish your course? Answering that question is the whole point of creating learning objectives, and it's easily the most important part of the entire process.
Vague goals like "learn about marketing" don't help anyone. They don't give you a roadmap for creating content, and they don't give your students a clear reason to sign up.
Instead, your learning objectives need to be specific, measurable, and focused on action. They spell out precisely what a learner will be able to do, giving you a North Star that guides every single piece of content, every activity, and every assessment you design.
The trick is to use strong action verbs. This is where frameworks like Bloom's Taxonomy can be a huge help, pushing you to think beyond basic knowledge recall and into higher-level skills like analysis, evaluation, and creation. Always ground your objectives in how someone would use this knowledge in the real world.
Here's the difference:
See how much more powerful that second one is? It’s a tangible, project-based outcome. It tells you exactly what content you need to teach and gives the student a concrete skill they can put on their resume. For a closer look at this strategic approach, our guide on how to develop a training curriculum goes into even more detail.
The strength of your learning objectives directly correlates with the perceived value of your course. When students see a clear path to a tangible outcome, they are more invested, engaged, and likely to succeed.
This focus on real-world benefits is fueling a massive shift in online education. As more people look to gain new skills for their careers, the demand for well-designed courses on platforms like GroupOS is skyrocketing. The online degree market is on track to hit $74 billion globally by 2025, and a whopping 77% of MOOC learners report seeing direct career benefits from their studies. This boom just highlights how critical it is to build an outline that promises—and actually delivers—valuable results.
Start with a brain dump. List out every single skill, concept, and piece of knowledge you want to teach. Don't worry about wording it perfectly just yet; just get it all down on paper.
Once you have that master list, it's time to refine. For each item, ask yourself a few key questions:
Running through this exercise is what turns your raw expertise into a structured, effective learning journey. It lays the foundation for a course that not only educates but truly makes an impact.
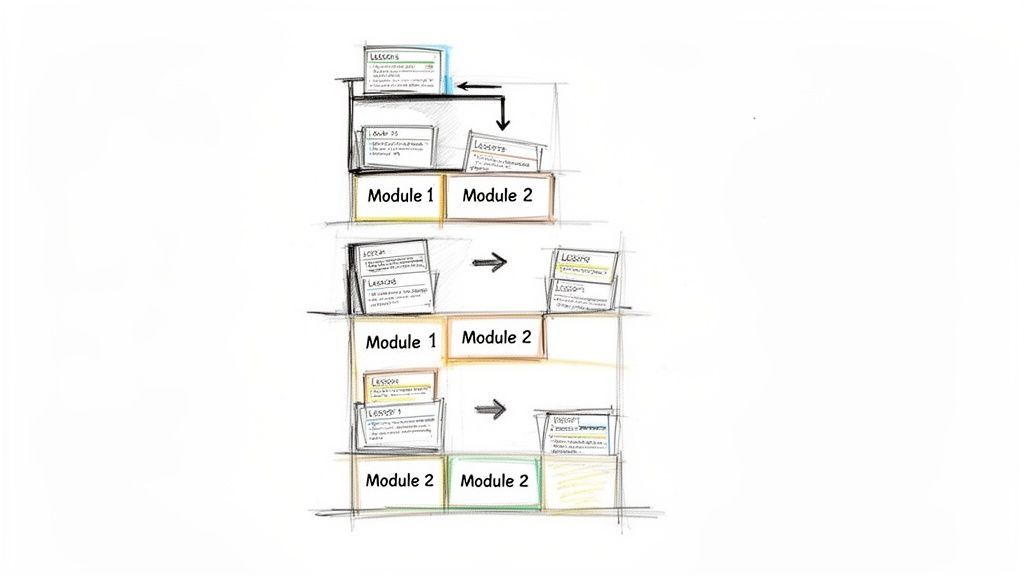
Once you've nailed down your learning objectives, it's time to build the actual skeleton of your course. This is where you take all that expertise swirling around in your head and organize it into a logical flow of modules and lessons. The goal is to create a clear, intuitive path that guides your students from where they are now to where they want to be.
Think of modules as the big chapters in your book. Each one should tackle a major theme or milestone and accomplish one or more of your core learning objectives. For instance, if you're teaching a social media course, a module could be "Mastering Instagram Reels." The individual lessons inside would then break that down into digestible chunks, like "Scripting Your First Reel" or "Advanced Editing Techniques."
This kind of structure is crucial. It keeps students from feeling overwhelmed by breaking down a massive topic into manageable pieces. Even more importantly, it builds momentum. Every time a student finishes a module, they get a little hit of accomplishment, which is exactly what keeps them motivated and moving forward.
There’s no single "right" way to organize your content. The best structure really depends on your specific topic and what you want your students to walk away with. You're aiming for a flow that just makes sense.
Here are three popular models I've seen work well:
If you're feeling stuck, it can be helpful to see how others approach this. For example, you can discover various curriculum ideas for after-school programs, which often use really creative thematic or skill-based structures to keep learners hooked.
After you’ve mapped out your high-level modules, the next step is to zoom in and define the individual lessons within each one. My advice? Make each lesson about one single, specific concept. This micro-learning approach is fantastic for keeping students focused and helping the information stick.
As a general rule of thumb, I try to keep video lessons between 5-15 minutes. This is the sweet spot that respects people's busy schedules and short attention spans. It’s a huge reason the Massive Open Online Course (MOOC) market has absolutely exploded, with enrollments rocketing from basically zero in 2012 to 220 million by 2021. People want flexible, bite-sized learning.
An effective lesson does one thing and does it well. Don’t try to cram three different topics into a single video. It’s better to have three short, focused lessons than one long, confusing one.
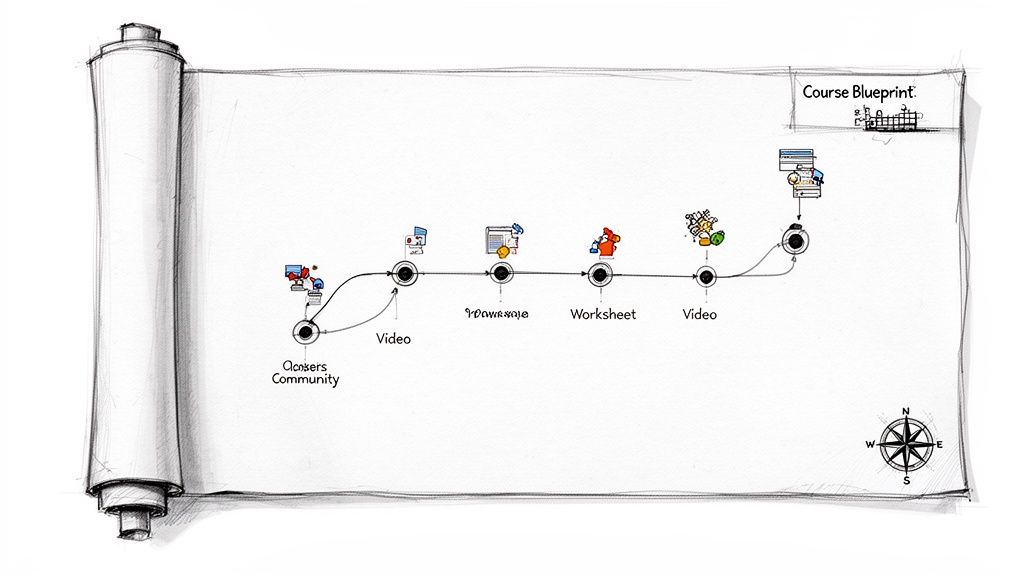
Finally, don't forget about variety! The best courses mix things up to keep the experience fresh. You can combine your video lectures with downloadable worksheets, checklists, or hands-on projects. If you’re building a program with a strong community element, you might even consider how a cohort-based course model could blend your pre-recorded content with live, interactive sessions.
A truly great course outline does more than just list topics. It's a blueprint for an experience, mapping out how students will actually apply what they're learning and connect with each other. Simply dropping a list of video titles into a document isn’t a plan; it’s just a list.
When you build in interactivity from the ground up, the course feels less like a one-way lecture and more like a collaborative workshop. This shift from passive viewing to active participation is what keeps students hooked and dramatically boosts how many of them actually finish what they start.
Quizzes have their place, for sure. They’re great for a quick gut-check on core concepts. But they rarely tell you if a student can actually use the information you've given them in a real-world situation.
The best assessments are designed to mimic the tasks and challenges your students will face outside of the course.
Try building these directly into your outline:
A meaningful assessment proves that your student can bridge the gap between knowing something and actually being able to execute on it. That’s the real win.
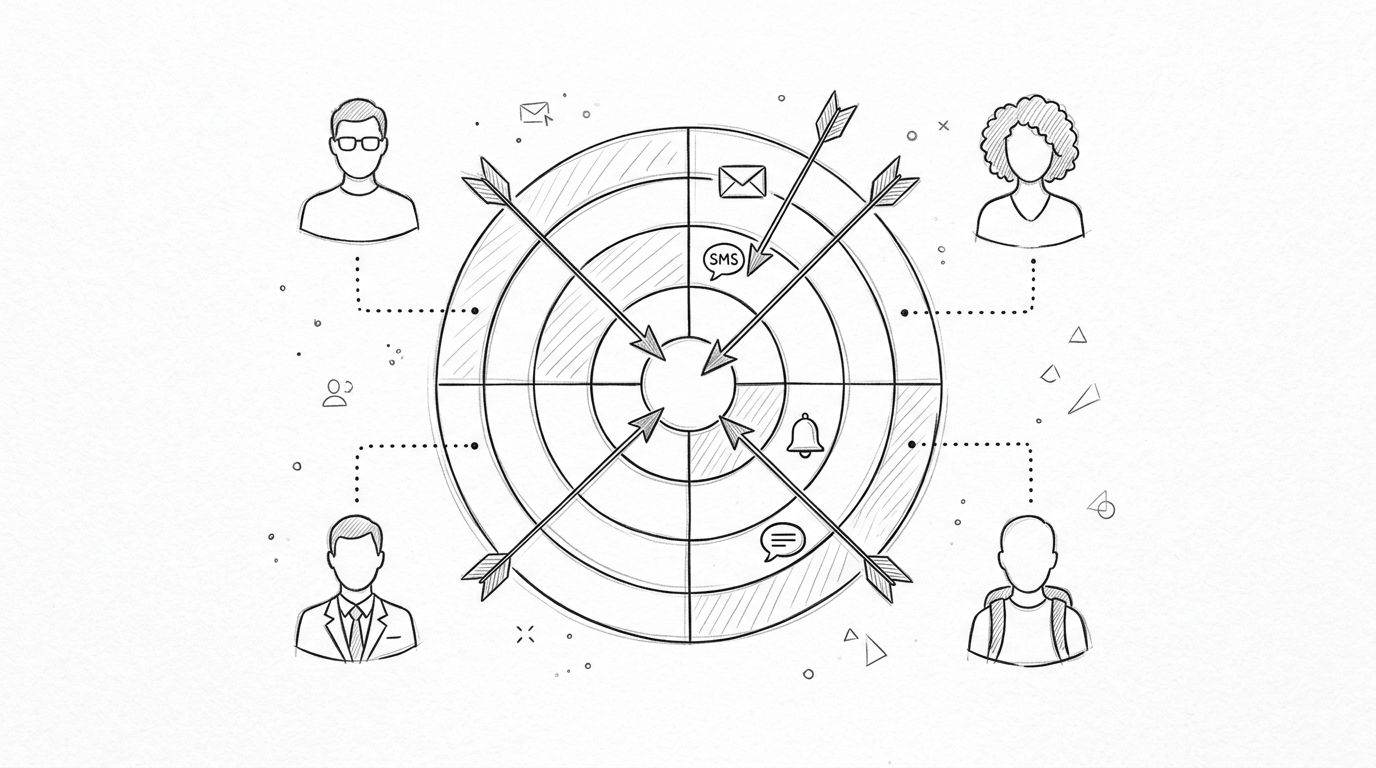
Even when a course is online and self-paced, learning shouldn't be a solo mission. People learn better when they feel connected. Your course outline is the perfect place to intentionally design those moments of interaction.
You need to create deliberate touchpoints where students can talk to you and, just as importantly, to each other. These become the feedback loops that keep people from getting stuck and giving up.
Plan for activities like these:
Want to take it up a notch? A little friendly competition can go a long way. You can explore different strategies for gamification in elearning to turn simple activities into fun challenges. The goal is to make engagement feel like a natural, rewarding part of the process, not just another item on their to-do list. When you weave these elements in from the start, your course outline transforms from a simple document into a roadmap for a dynamic and supportive community.
You've done the hard work of creating a solid course outline. That's your architectural plan. Now it's time to grab your hard hat and start building. This is the exciting part where your detailed blueprint transforms from a simple document into a living, breathing learning experience for your students, especially when using a platform like GroupOS.
Having the right toolkit is everything. Instead of trying to patch together different apps for your content, payments, and community chats, an all-in-one system frees you up to focus on what you're truly great at: creating amazing content. This is where your plan becomes a real asset.
With your modules and lessons already mapped out, the first step is to start filling up your content library. Inside GroupOS, this process is designed to feel intuitive, letting you build out each module just as you planned it. This makes it super easy for your students to find their way around.
Once your modules are set up, you can start dropping in your individual lessons. Don't be afraid to mix and match content types here to keep things engaging.
The demand for well-structured online learning is absolutely exploding. Corporate e-learning is on track to become a £240 billion industry—that’s a staggering 900% jump since 2000. Here in the US, the market is projected to leap from $100 billion in 2022 to nearly $687 billion by 2030. It's no wonder that 83% of companies are now using a Learning Management System (LMS).
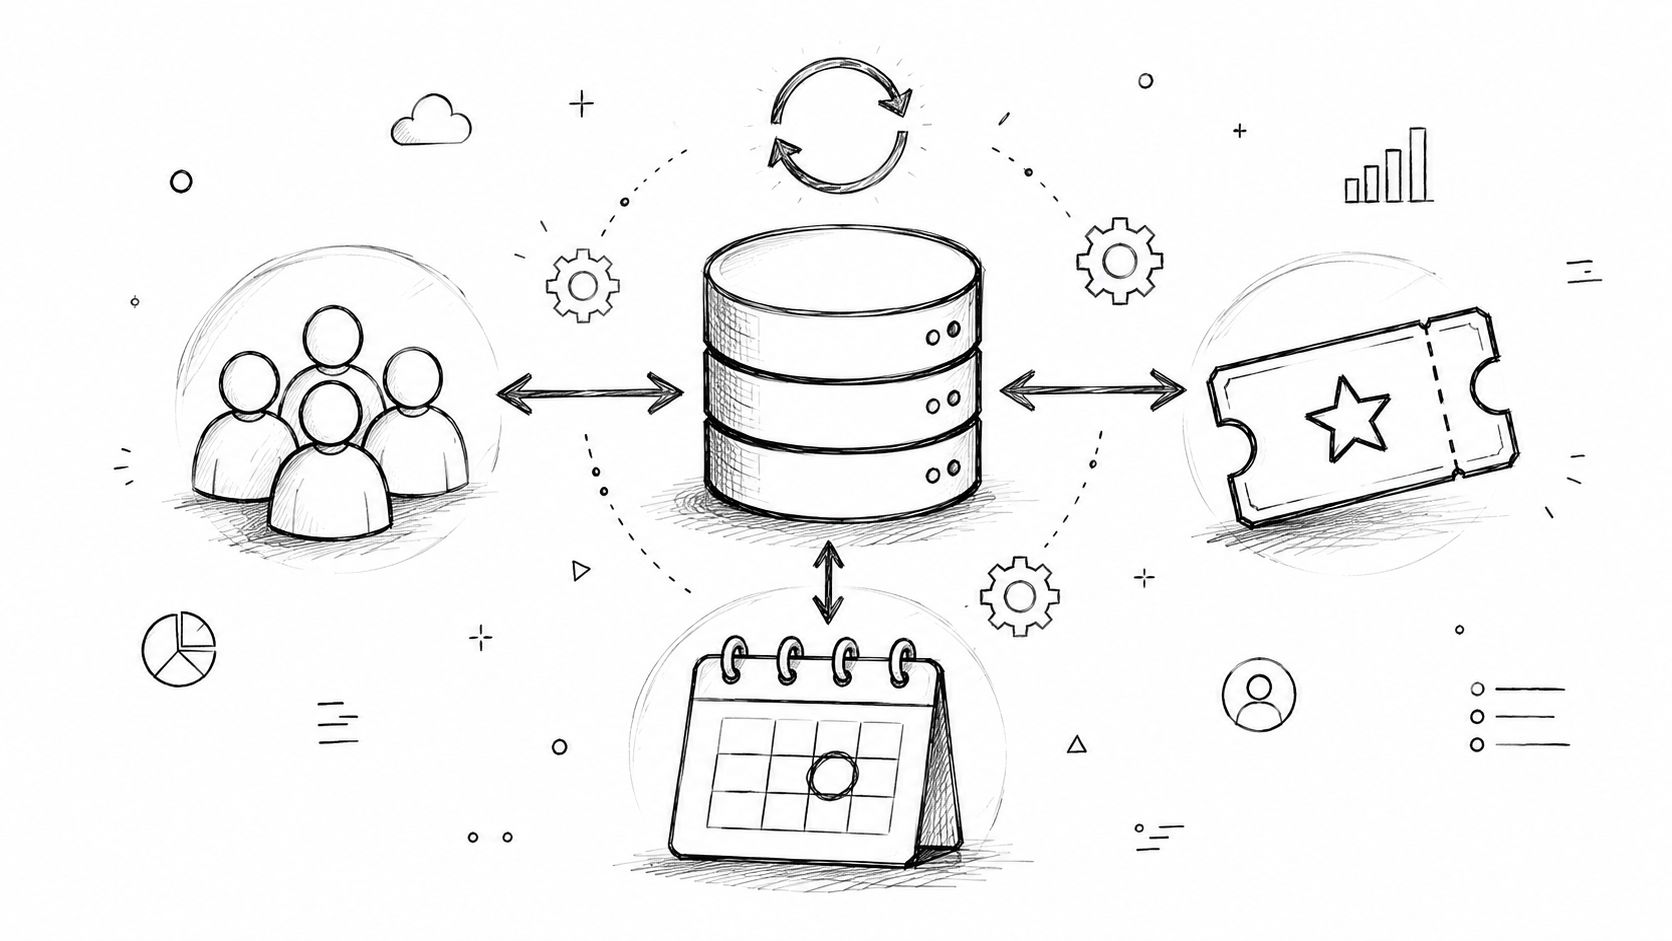
Let's be real: not all students have the same needs, so your course doesn't have to be a one-size-fits-all experience. One of the most powerful things you can do is gate your content to create different access levels, something you can set up directly from your outline in a platform like GroupOS.
This diagram perfectly illustrates the core loop of a great online course: it’s a constant cycle of assessing, applying, and engaging.
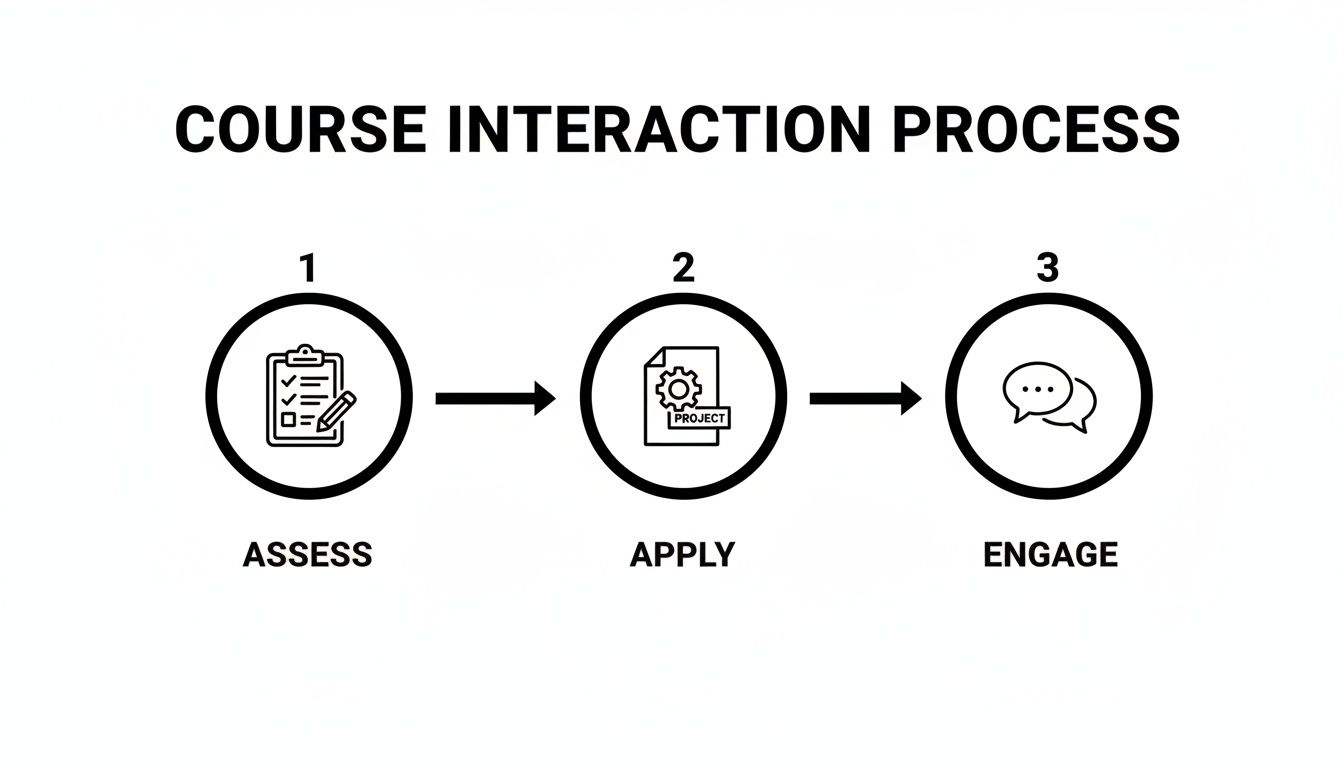
It’s a great reminder that learning isn't just about passively watching videos. Real growth happens when students are actively involved.
You can set specific rules for who gets to see what content, and when. For example:
Turning your outline into a course isn't just about uploading files. It's about strategically deploying your content to create different value propositions for different segments of your audience.
This kind of flexibility lets you monetize your knowledge in multiple ways from a single course outline. To figure out what works best for you, it’s worth checking out a detailed online course platform comparison to see how the features line up. When you match your platform's capabilities to your course structure, you're well on your way to building a successful and profitable program.
When you're in the thick of designing your course, questions are bound to bubble up. It's completely normal. You're moving from a big idea to the nitty-gritty details, and that's where the real work happens. Let's walk through some of the questions I hear most often from fellow creators.
Honestly, there’s no single right answer. The perfect length is dictated entirely by your topic's complexity and the promise you're making to your students. Don't get hung up on a target number of hours; instead, obsess over fulfilling your learning objectives.
A solid approach I've seen work time and again is to structure your course into modules, with each module holding about three to five lessons. Aim to keep your individual videos between 5 and 15 minutes long—that seems to be the sweet spot for keeping people engaged.
A small-scale mini-course might wrap up in an hour or two. A comprehensive flagship program, on the other hand, could easily run for 10 hours or more. Your outline is your guide here, helping you ensure every minute you create is intentional and valuable.
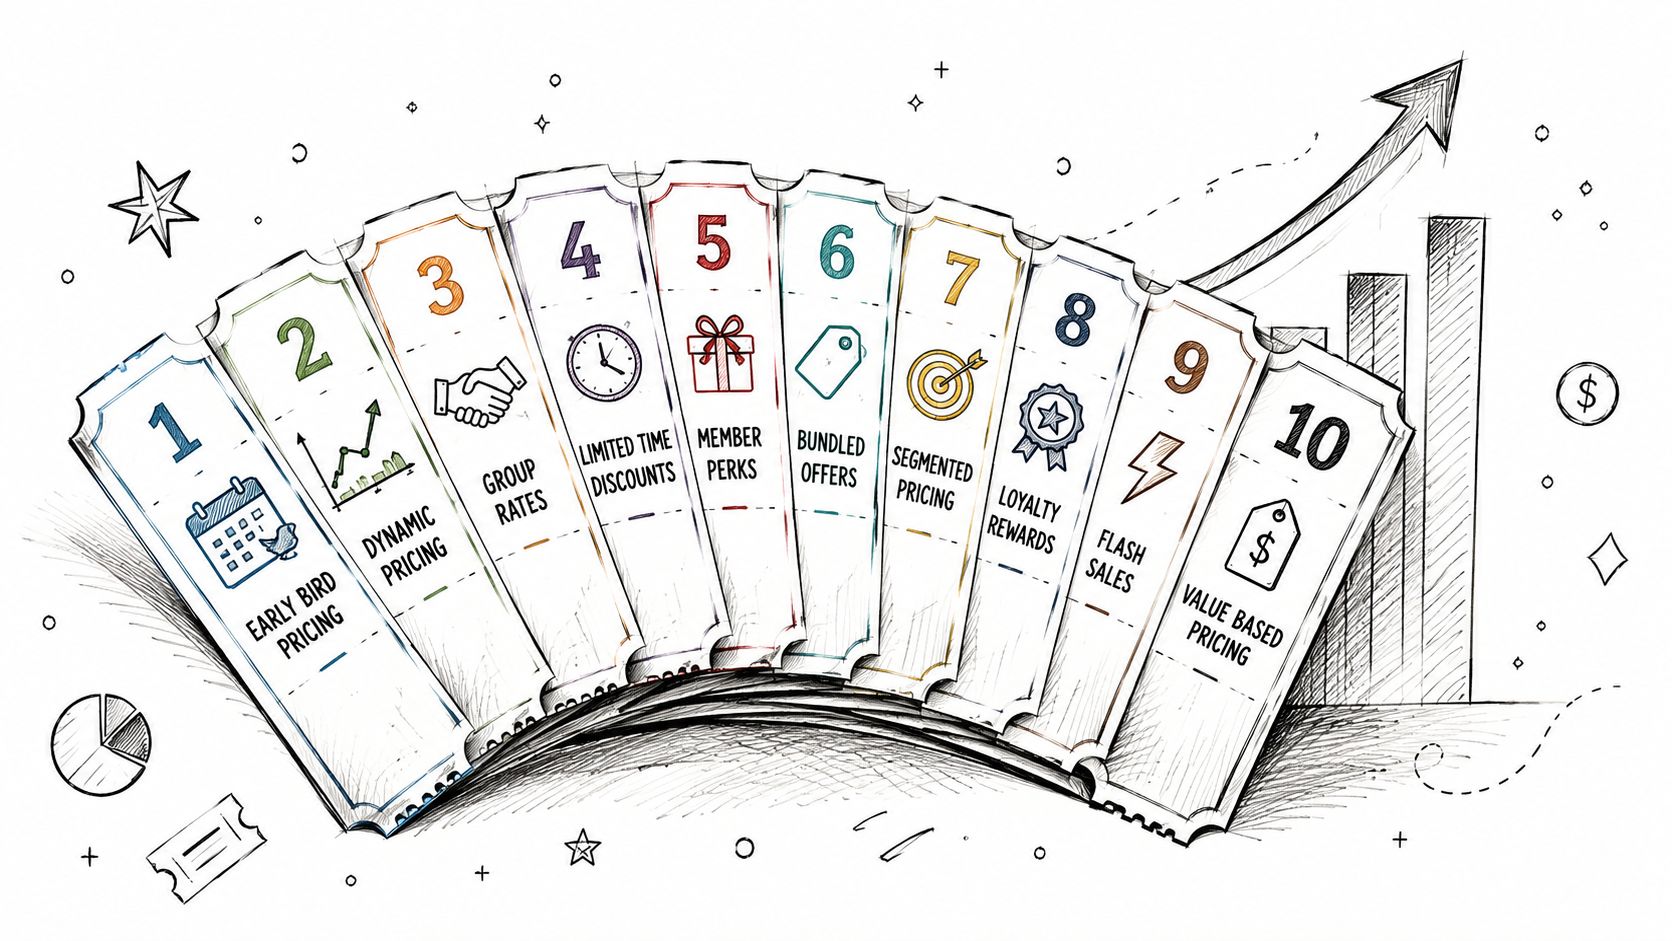
Your price should be a direct reflection of the value you deliver, not just the amount of content. That value is spelled out right there in your learning objectives. A robust outline that clearly charts a path to a high-stakes outcome, like mastering a new professional skill, gives you the confidence to charge a premium price.
Think about these factors as you land on a number:
Your outline isn't just a content plan—it's your value proposition. The clearer you map out the journey and the destination, the easier it is to price your course with conviction.
Not unless you want to! Your detailed outline needs to be locked in, but how you create the content is flexible. You could absolutely pre-record everything for a polished, ready-to-binge experience. Many people do.
Or, you could try a "beta" launch with a founding group of members. This is one of my favorite strategies.
With a beta launch, you release content weekly, building it just ahead of your students. This "drip" method is incredible for getting real-time feedback and making your first students feel like true founding partners. Your outline becomes the roadmap that keeps everyone on track, but you have room to tweak things based on what your community is telling you they need.
This is a great question. Think of the outline as your internal blueprint. It’s for you. It’s the architectural plan you use to organize modules and lessons in a logical sequence, making sure the learning journey flows perfectly.
The syllabus, on the other hand, is the student-facing document you create from that outline. It's their official guide to the course. It lays out the schedule, explains assignments and grading, and tells them exactly what to expect. You always start with the detailed internal outline, then pull the essential info from it to create a clear, helpful syllabus for your students.
Ready to bring that expert outline to life? GroupOS gives you all the tools you need to host your content, manage your members, and sell your course, all in one place. Start building your course with GroupOS today.